
Ever notice how some online courses just make sense, while others leave you confused and frustrated? That’s not luck—great eLearning happens in a set order, with five key phases steering the process from start to finish.
If you’re planning to build your own course or just curious why some platforms get rave reviews, understanding these phases is a game changer. With a bit of know-how, you can dodge rookie mistakes and make sure your lessons are actually helpful. Let’s get into what happens at each stage—and why skipping steps guarantees headaches down the road.
- Getting Started: Analysis Stage
- Blueprints and Storyboards: Design Phase
- Building the Course: Development
- Test Runs and Tweaks: Implementation
- Wrapping Up: Evaluation and Feedback
Getting Started: Analysis Stage
This is where most eLearning phases actually begin, but lots of people want to skip it and dive straight into flashy content or tech. That’s a huge mistake. The analysis stage basically answers, "Who are you teaching, and what do they need to know?" It’s less about creating lessons and more about figuring out if your course idea actually makes sense—and who it’s for.
Here’s what usually happens in this stage:
- Define your learners: How old are they? Are they beginners or pros? What is their job or school level?
- Pin down the learning goals: Do you want them to know facts, be able to do something, or change their attitudes?
- Check the gap: What’s missing between where they are and where they need to be? This is called a "needs analysis." If you don’t know the gap, you’ll just be guessing.
- Scope out the context: What devices are people using? Are they learning at home, work, or school? Do they have Wi-Fi issues or work on old laptops?
Why bother? IBM reported that companies who use solid instructional design (starting with analysis) can boost productivity by as much as 50%. That’s not wishful thinking—it’s about knowing what people lack, so your online course fills that gap perfectly.
You’ll probably want to talk with people—think surveys, interviews, or quick polls. And if you notice busy learners (like parents or professionals), planning shorter modules is smarter than one long daily block. Don’t skip this phase, even if it feels like homework. A little research now means fewer angry emails later.
| Analysis Checklist | Details |
|---|---|
| Identify Target Audience | Who will take the course (age, experience, location)? |
| Define Objectives | What should learners know or do afterwards? |
| Understand Learning Context | Devices, connection, time available |
| Assess Current Knowledge | Pre-tests, surveys, or interviews |
Spend some time on this stage—the rest of your online education plan depends on how well you know your learners and their goals. Without it, your course risks missing the mark completely.
Blueprints and Storyboards: Design Phase
This is the phase where your eLearning ideas get organized into something you can actually build. Think of it as making the plans before you start hammering away at a house. You figure out exactly what you want people to learn, how you’ll get the point across, and what the lessons will look like on screen.
The design phase is where most of your creative decisions happen. You create your course structure, decide on the look and feel, and work out what tools or techniques you’ll use. You might sketch out rough layouts (these are called storyboards) or map out a simple flowchart. This is the right time to identify where videos, quizzes, or interactive elements will fit best.
- Set clear learning objectives: What exactly should someone be able to do after a module?
- Map out content chunks: Break everything into digestible pieces so it’s not overwhelming.
- Storyboard the experience: A visual draft helps everyone see how the course will flow from start to finish.
- Plan for assessment: Decide how you’ll check if people really picked up the important stuff—whether with quizzes, practice, or projects.
During this step, you also consider accessibility and inclusivity. A real-world example: Some platforms found that using bigger text sizes and adding closed captions led to higher engagement—especially for people learning on their phones.
| Element | Purpose |
|---|---|
| Storyboards | Plot visual and interactive course flow |
| Learning Objectives | Make goals clear for each lesson |
| Media Selection | Pick suitable graphics, videos, audio files |
| Quizzes & Activities | Reinforce learning and provide feedback |
Don’t rush through this phase. Spending a little extra time on planning and storyboarding can save you hours of fixing mistakes later. Plus, it makes the next step—actually building your online course—way less stressful. If you’ve got a good blueprint, you won’t lose track or leave your learners bored or lost along the way.
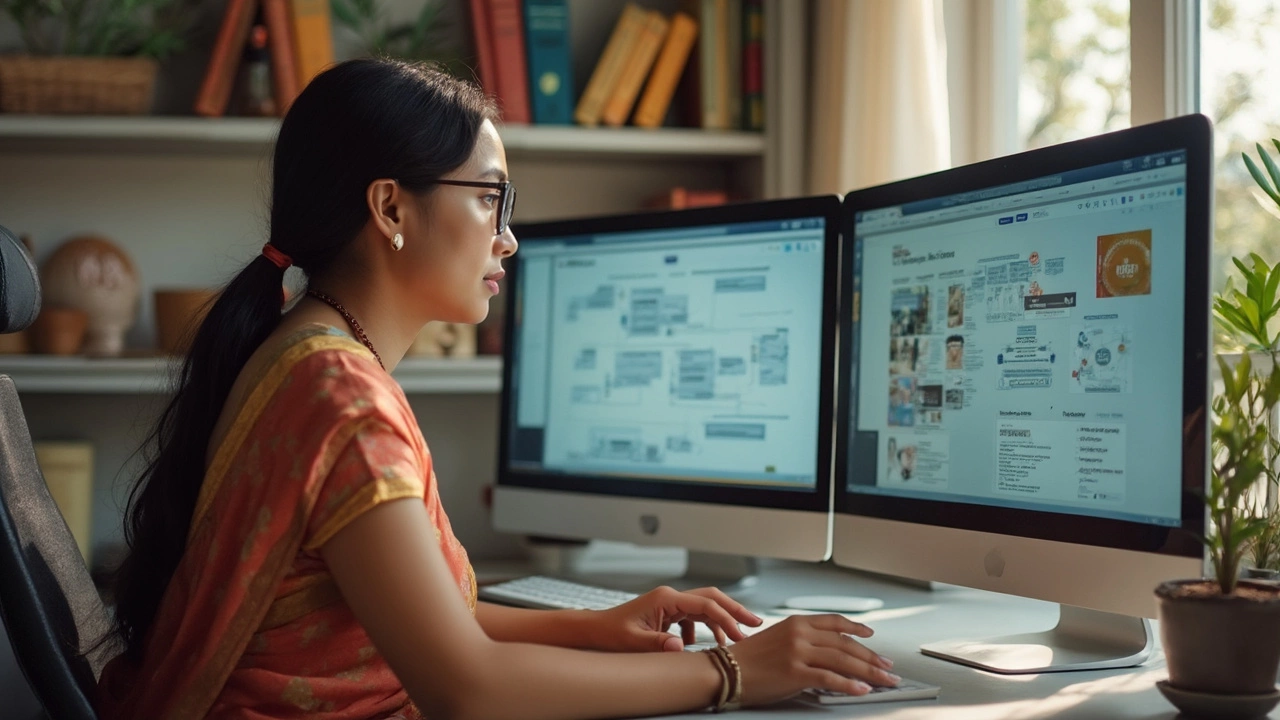
Building the Course: Development
This is when you actually roll up your sleeves and bring your eLearning ideas to life. Everything you mapped out in the design phase needs to turn into real, working lessons. Here’s where you’ll see your blueprints, storyboards, and mockups turn into the online course your learners will use. If you’re using popular eLearning platforms like Moodle or Canvas, this phase is about uploading content, building quizzes, creating videos, and making sure everything fits together smoothly.
Most online courses mix up different types of media. You need:
- Clear, readable text (bite-sized, definitely not an essay)
- Videos – Even short clips make a difference; studies show learners retain 95% of a message when they watch it in a video, compared to just 10% when reading text
- Images, diagrams, and infographics
- Interactive stuff like quizzes, clickable activities, or drag-and-drop games
- Audio – Great for learners on the go, or those who just dig podcasts
One big tip: Don’t overload your course. Too much info on one page, or a 20-minute video, almost always loses people fast. Break things up. For example, instead of one giant lesson, try five short ones with small activities in between. This keeps learners awake and helps them remember stuff longer.
After building out the core lessons and materials, don’t forget about accessibility. Good online education works for everyone, including people with disabilities. That means adding captions to videos, making sure images have alt text, and using large, readable fonts. If you’re not sure where to start, check out the Web Content Accessibility Guidelines (WCAG)—most eLearning platforms have help guides for this.
If you’ve built courses before, you know technology can be a minefield. Something always breaks: links, audio, weird mobile formatting. Here’s where pilot testing really pays off—grab a few real users and ask them to try out the course. Their feedback catches the weird stuff you might not notice on your own screen.
| Element | Why It's Useful |
|---|---|
| Micro-Lessons | Short content chunks hold attention better |
| Quizzes | Instant feedback and knowledge checks |
| Video Tutorials | Boosts retention of complex information |
| Discussion Boards | Fosters community and peer learning |
By the end of the development phase, your learning process is no longer just an idea—it’s a real, usable course. Make sure the navigation is easy, and every piece of content matches the goals you set earlier. If you keep things simple and interactive, learners will keep coming back for more.
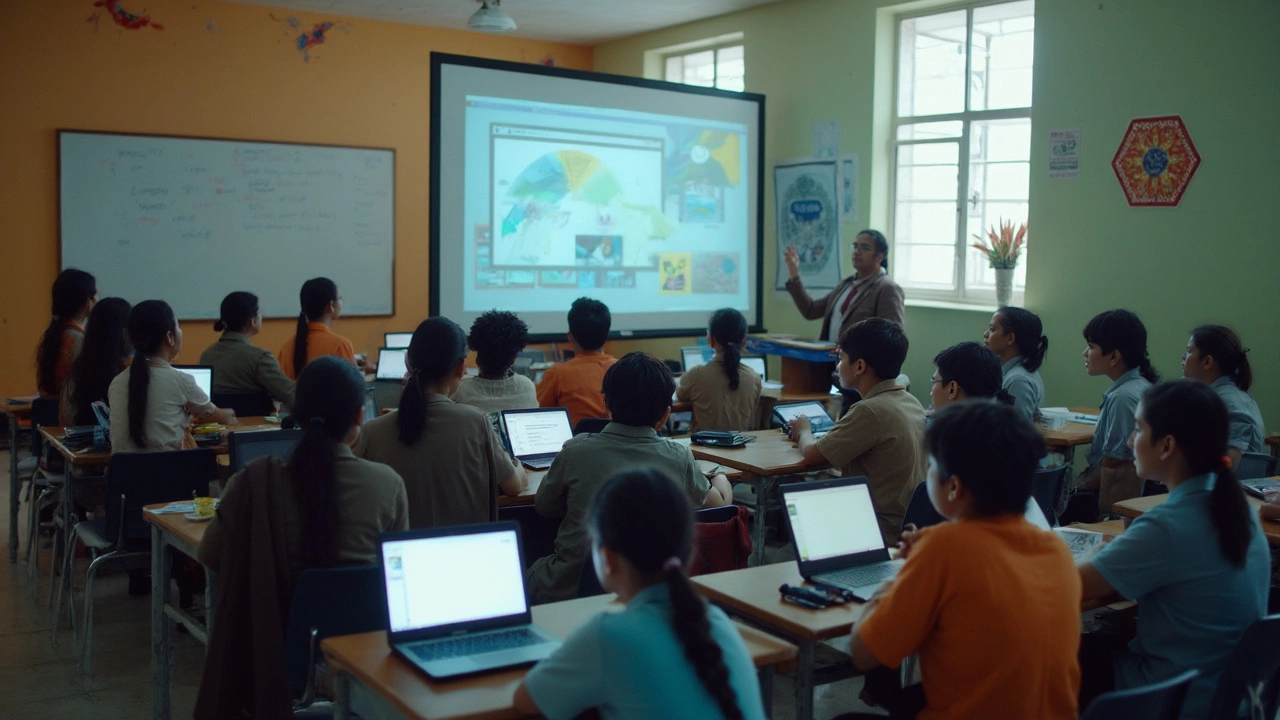
Test Runs and Tweaks: Implementation
This is where the rubber meets the road. You’ve designed and built your course, but how it works in real life can be a whole different story. The eLearning phases don’t just end with uploading files to a platform—there’s a lot to check, fix, and adjust during implementation.
First, you need to test the course like a real learner. That means logging in on your phone, laptop, and different browsers. Did you know about 55% of learners access online education mostly from their phones? If the course only looks good on your computer, you’re missing a huge chunk of your audience.
Running a "pilot" is a smart move. Get a small group to go through everything, from signing up to submitting quizzes. Watch for glitches, confusing instructions, broken links, or places where people get stuck or bored. Trust me, someone always finds a typo you thought you caught!
It helps to make a checklist as you review:
- Does every video or quiz load on all devices?
- Are instructions clear and easy to follow?
- Is navigation obvious, or will people click in circles?
- Are discussion boards and tech support easy to reach?
After the pilot, gather feedback. Don’t just ask "Did you like it?" Dig a little deeper. Which parts felt slow? Where did people get frustrated or lose interest? Real feedback helps more than nice compliments.
Here’s a quick look at sample problems real teams found during implementation:
| Problem | Fix |
|---|---|
| Quiz not working on mobile | Switch to a platform with better mobile support |
| Confusing instructions on assignments | Add step-by-step video walkthrough |
| Too many clicks to find key resources | Relink handouts in each lesson page |
Making these tweaks before you let your whole audience in saves a ton of headaches (and angry emails!). Once you’ve ironed out the kinks, you’re ready for launch—and much more likely to get those five-star reviews e-learning platforms love bragging about.
Wrapping Up: Evaluation and Feedback
This is the phase where everything comes together. Once your course is out there, you need to find out what actually works—and what falls flat. It’s not about patting yourself on the back; it’s about real improvement. Pretty much every e-learning platform out there—from Udemy to Coursera—has a feedback system for a reason.
Here’s what smart course creators focus on during evaluation and feedback:
- Measuring Learning Outcomes: Did students actually learn what you promised? Use quizzes, projects, or even quick surveys right after lessons. For example, a study back in 2023 found that courses with regular quizzes saw up to 35% higher retention rates.
- Collecting Honest Feedback: Don’t just go by end-of-course reviews. Reach out throughout the course. Short polls or anonymous surveys can uncover stuff students won’t say in public.
- Checking Engagement: Platforms like Moodle and Canvas provide usage stats. Are learners finishing your lessons or dropping out early? Take a look at the numbers.
- Updating Content: Found a video that’s too long? Or maybe an assignment everyone failed? Tweak it fast. Fresh, relevant content matters.
- Peer Review: Get input from other instructors or subject experts. Sometimes, what seems obvious to you is confusing for your learners.
Here’s how some common evaluation tools stack up for online education:
| Tool | What It Measures | How Often to Use |
|---|---|---|
| Quizzes | Understanding of material | After each module |
| Surveys | Student satisfaction | Mid-course & end |
| Completion Stats | Course dropouts & progress | Weekly |
One more tip: Don’t forget your own review. After each course launch, jot down what you’d do differently next time. Trust me, when I look back at my own course drafts from last year, there’s always something I’d tweak—like that overly ambitious quiz on e-learning platforms that even Bella the dog would fail. Staying honest keeps your courses getting better every round.